I actually managed to avoid Harry Potter since about three months ago, when I discovered this costume in a picture – until then, I had not seen any of the movies (I don’t count ‚hearing one movie on TV because I was busy doing something else than looking‘ as ’seeing‘!) nor had I read the books (the latter I still haven’t).
When the DVD box with the first four movies came out, I bought it – just to be able to study the aforementioned costume more closely.
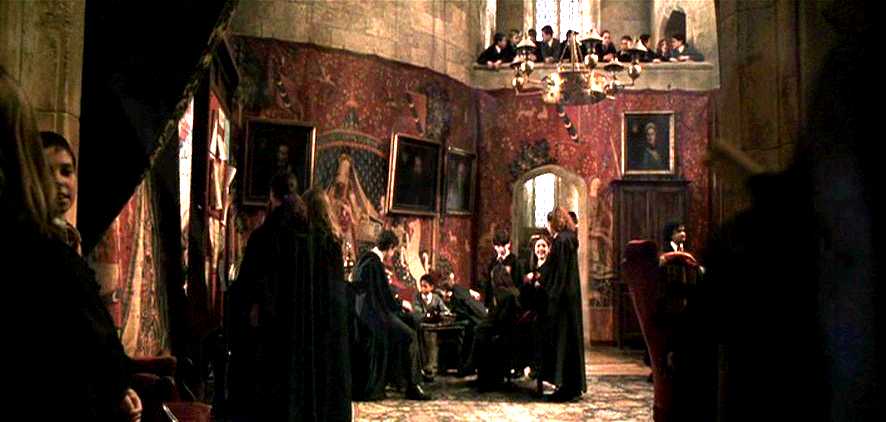
Imagine how utterly surprised I was when I actually *saw* the movies. No, no – not about their content – I enjoyed seeing them, but I’ll never become a hardcore fan of Harry Potter – but at the beautiful interior design of Hogwarts, especially the common room of Gryffindor.
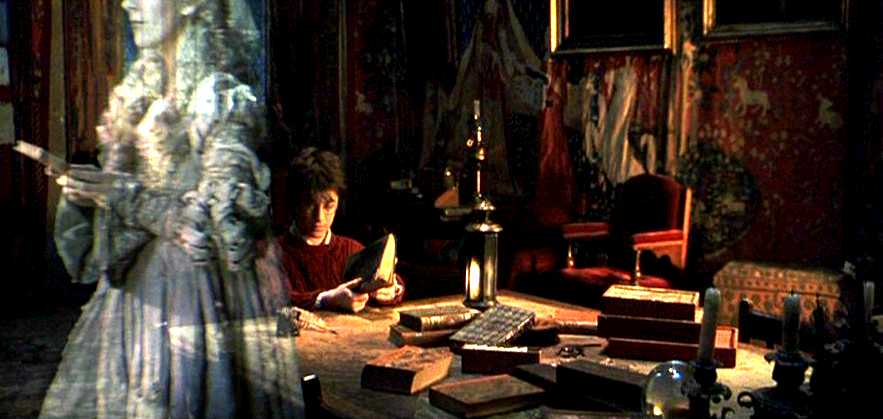
Second picture isn’t the best, but shows my favourite costume from the movie walking through that room 😉
They have the *Unicorn tapestries* as wall hangings! *swoons*
When I saw this I was most determined that if I should ever have to redesign my living room, I would want something like that, too.
Now – I had to move, and found an appartment which was practically screaming for new wallpapers. And that’s when my wish became a project. I admit that this is most definitely not a costuming project, but the facts given that a) each tapestry contains at least one beautiful medieval gown, b) this project took a longer time to finish than some costumes and c) I find it most inspiring for costuming, I thought I should at least write down a making-of.
Well, what does one need to get the Unicorn-tapestires to a living room wall?
Unless you are a weaver and have plenty of time or are quite wealthy to pay one to do this, you won’t go for real tapestries. Instead, you’ll probably choose to paint them to the wall, which was what I did.
You could also choose to paint them to fabric and hang ‚*that* to the wall, which would have the advantage that you could take the tapestries with you if you should ever move, or take them down if you wouldn’t like them any more. That, however, is an idea which occured to me just when I had almost finished my wall paintings (typical, isn’t it…?).
Alright, you’ll need…
– The confidence that you can do it.
You don’t have to be a genius artist to paint them with good templates, but you should know how to operate a brush with paint, so to speak; and you need some skills how to mix paint (e. g. red + black = dark red; red + white = pink; red + yellow = orange etc.). It’s honestly not that difficult if you at least have a faint bit of creativity in you. Your results will probably differ from mine because each and every artist has a different way of painting… though that doesn’t mean different in a bad way, it just means differently painted.
– A wall (obviously!)
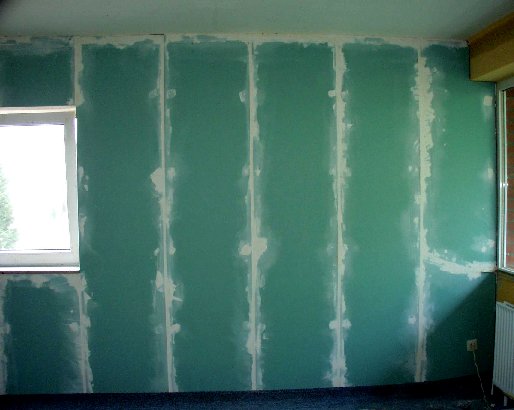
…like this one, for example…
– Either a good, ‚woven-textile‘ looking wallpaper, preferrably the color that serves on the unicorn tapestries as a background: medium to dark red.
Or some medium to dark red paint with which you can paint your old wallpapers to that color.
In case you should decide to paint the tapestries to fabric, look for extra wide fabrics so that you don’t have to paint over seams. The weave shouldn’t be too coarse (like typical ‚coarse linen canvas‘) nor too fine (like batiste) – think of typical fine canvas. If it’s made of cotton or any other natural fibre, then you can dye it dark red (because it’s more likely to find such a fabric in almost white color).
I chose a burgundy, woven-textile looking vinyl wallpaper, simply because the vinyl surface allows me to correct painting mistakes by wiping the paint off as long as it’s not dry.
– Some different wall paint colors
I got along with just 10 colors for all the three tapestries I’ve painted, these were:
white, black, dark brown, ocre, peach, dove blue, ultramarine blue, red and dark green.
In case you should want to paint this to fabric, you will of course need fabric paint, because the wall paint would come off very soon. Acrylic paints are also a good idea for fabric, simply because they are cheaper in large amounts and also able to stick to the fabric. Choose matte ones – the glossy paints would look very strange for this project.
– brushes in various sizes
– a pencil for wall painting, or felt markers for fabric
– and, of course, templates.
When I was planning my templates, I found no picture on the net that would show me any of the tapestries in full size at a good resolution and I had no time to get one of the books or calendars about / with them, so I had to tile some pictures to get the templates I needed. Here they are, for the three of the originally six tapestries that I wanted to paint:
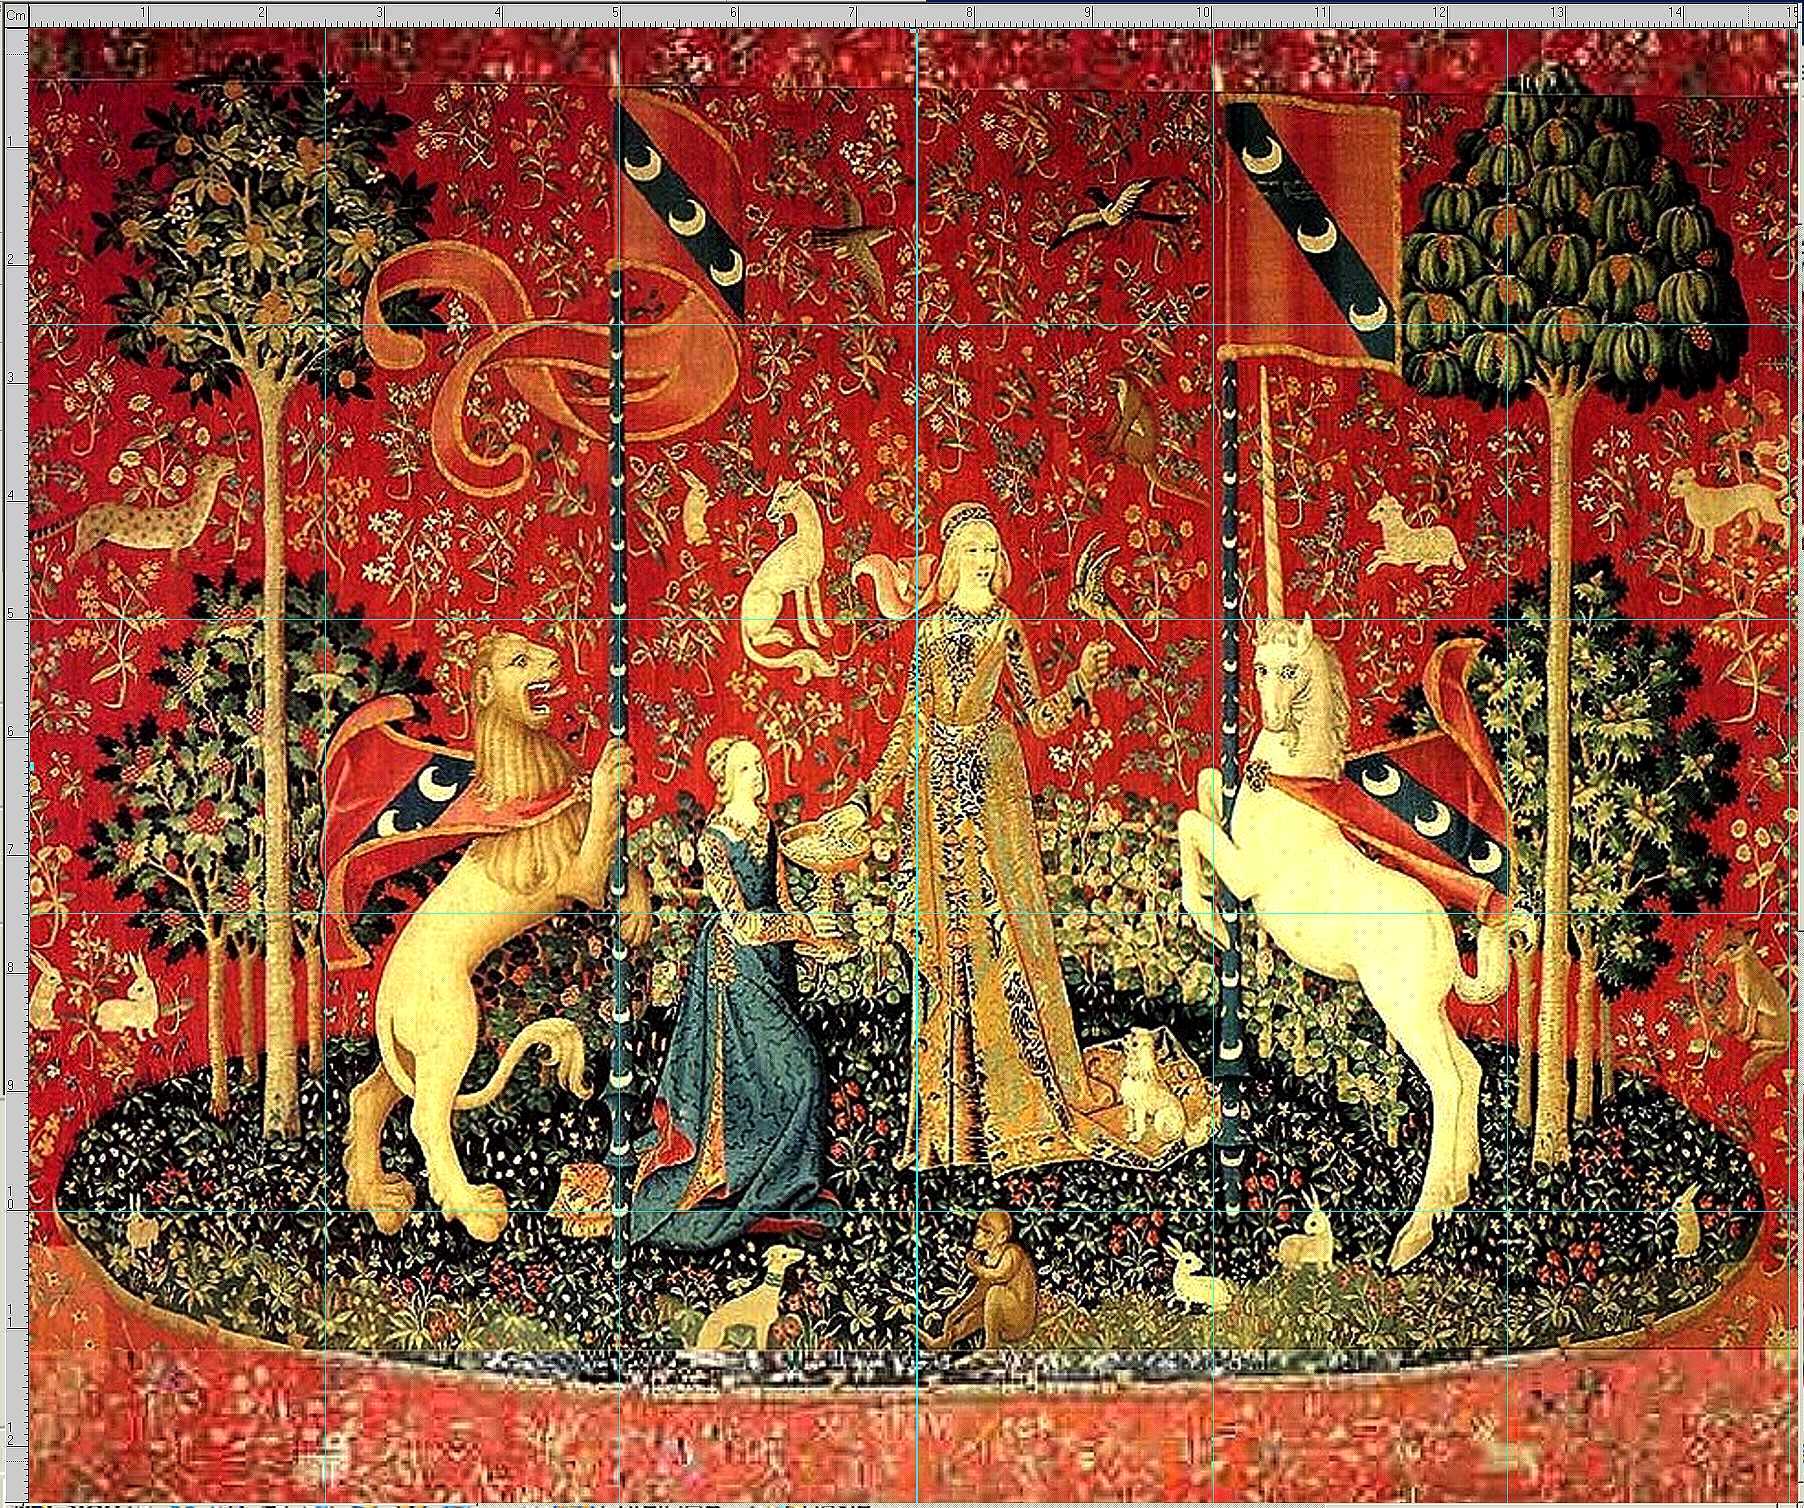
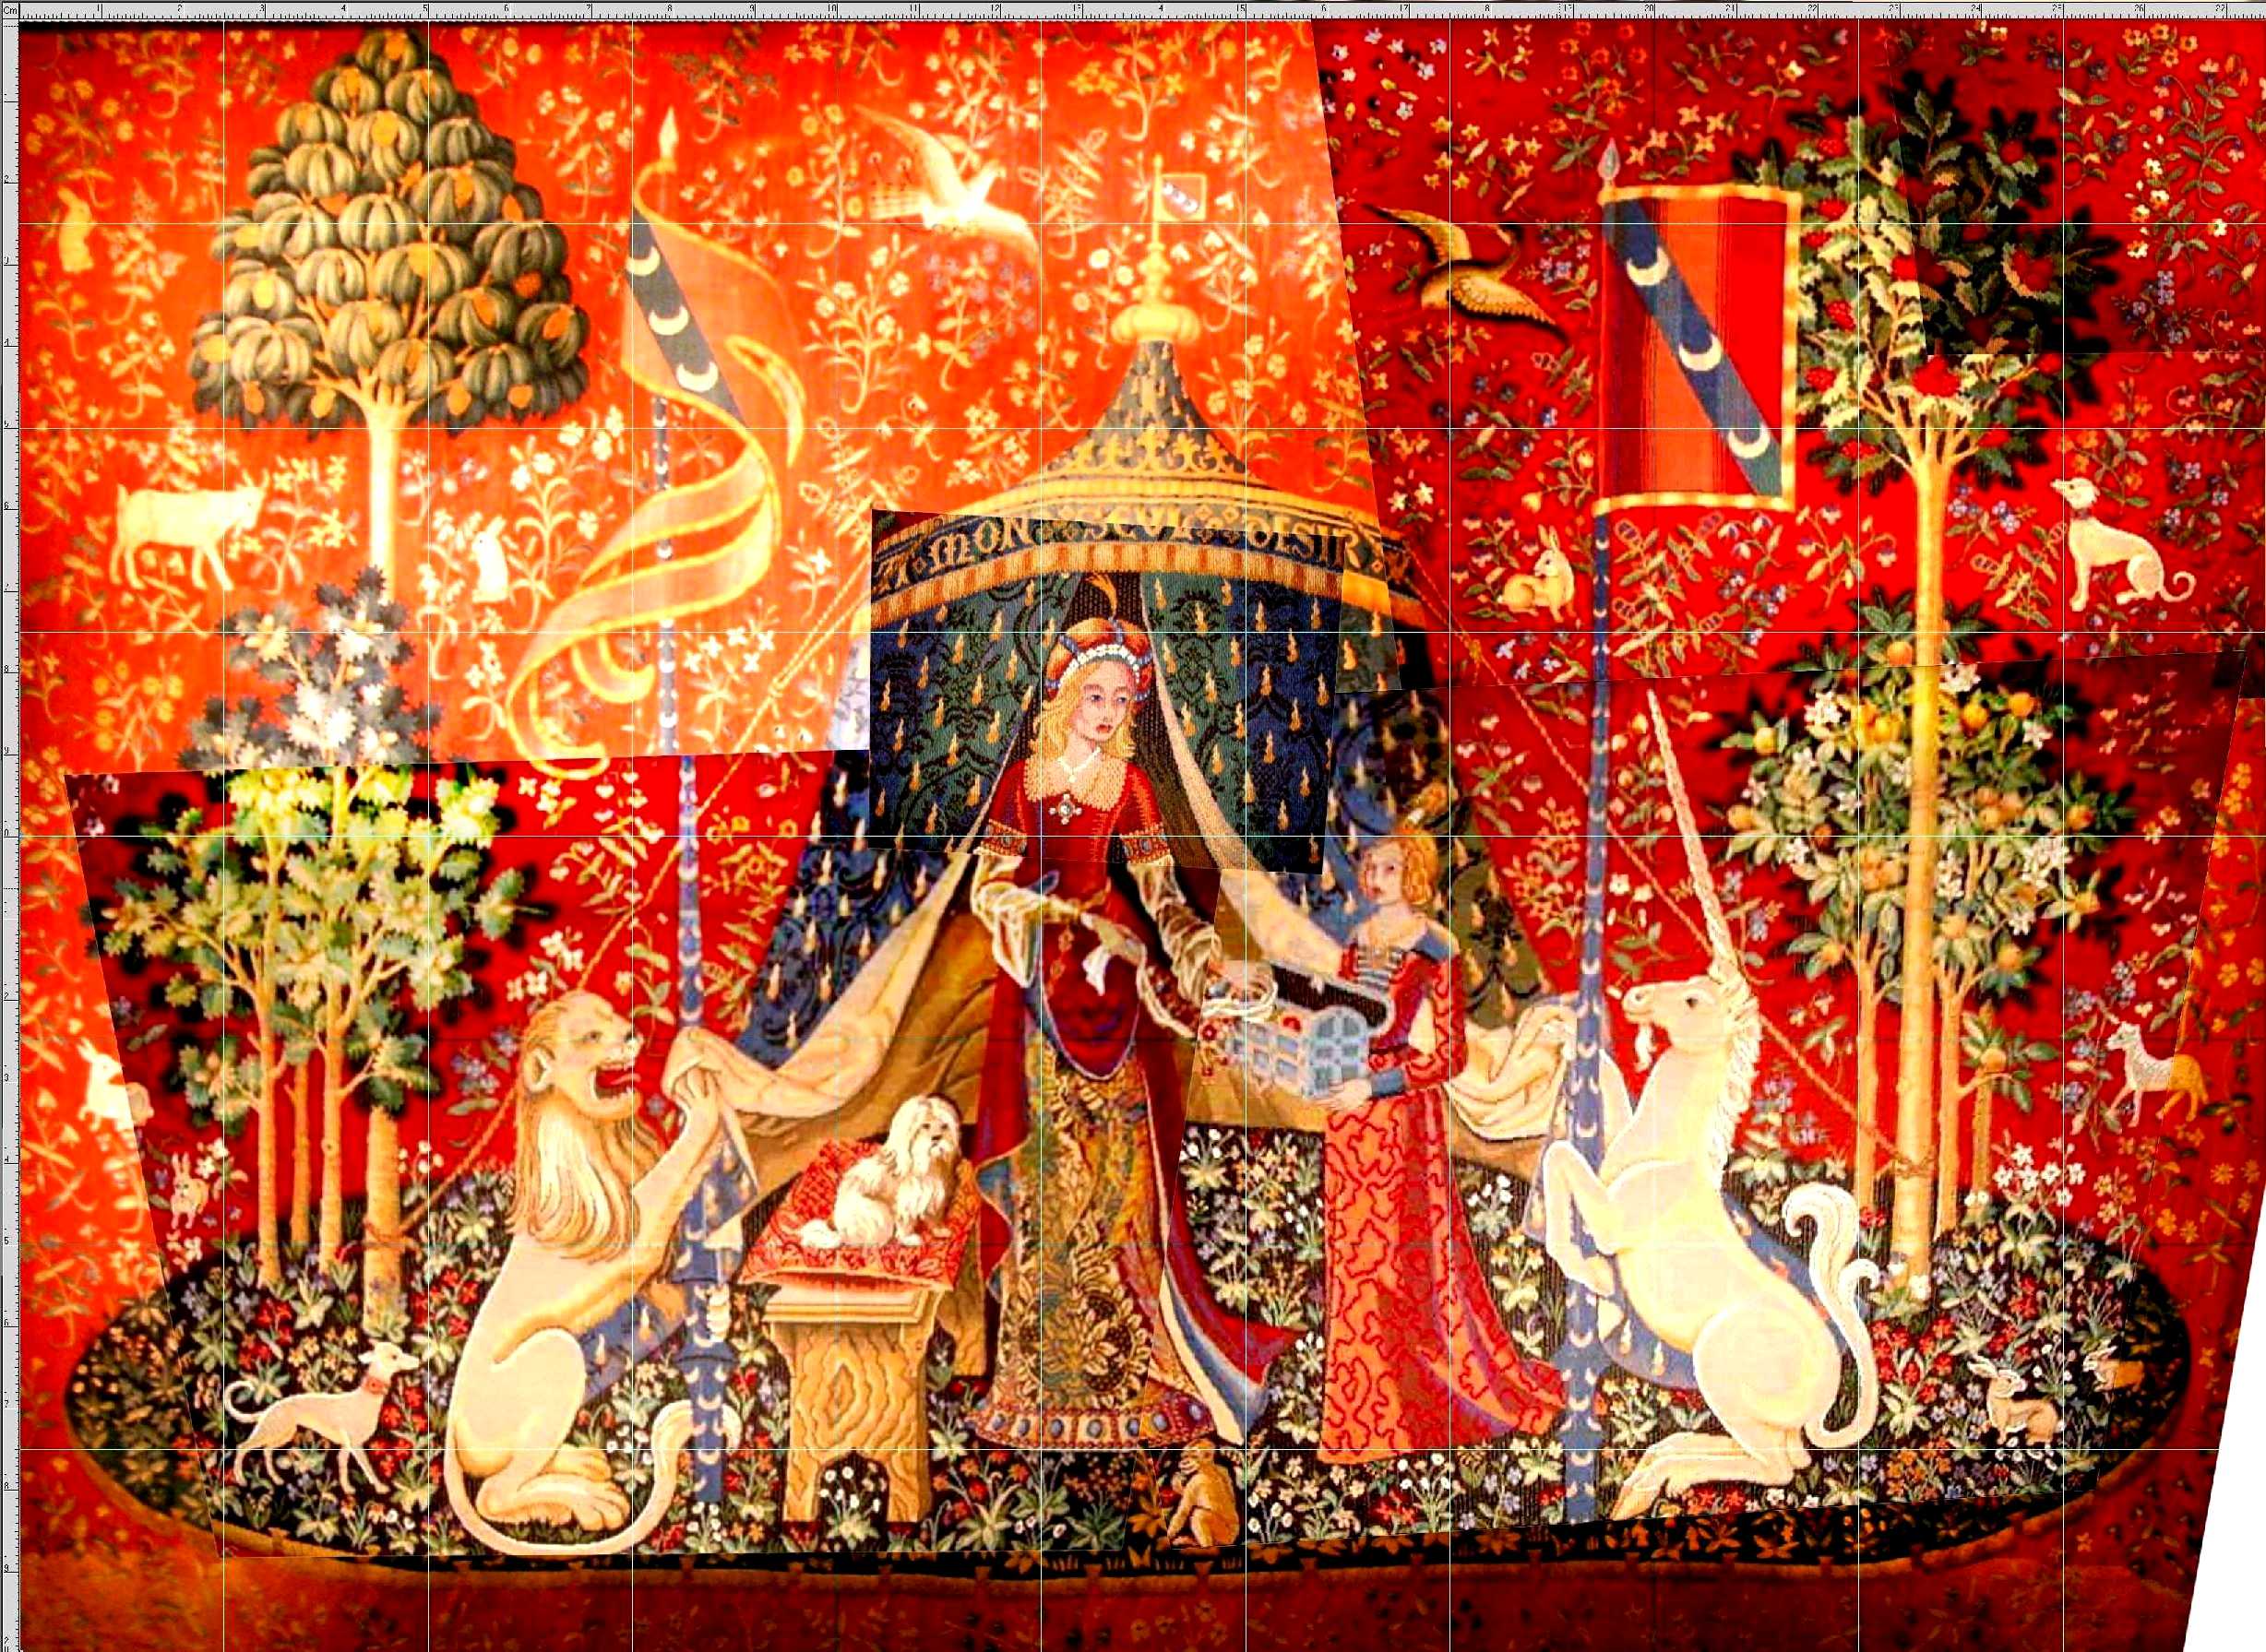

Templates for the ‚Taste‘, ‚Desire‘ and ‚Touch‘ tapestries. The ‚Desire‘ tapestry shows best how I had to tile different pictures to get one complete picture.
As you can see, there’s a grid in all of those tapestries. Each square would be (for me) 25x25cm (about 10×10 inch) in reality.
So…. first, there was a naked wall…
…then came the wallpaper….
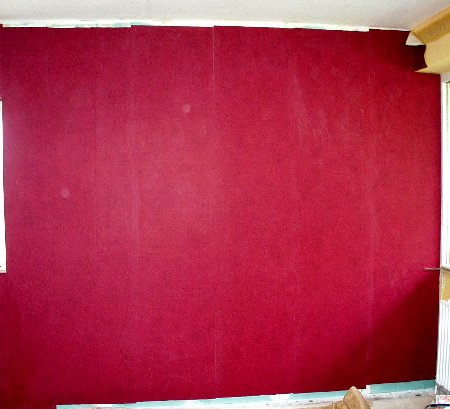
There seem to be two bright ’spots‘ on the wallpaper; but that’s only in the photo and not in reality.
…here I have made the dots for the grid on said wallpaper (one can actually only see them if standing *very* close to that wall!)…
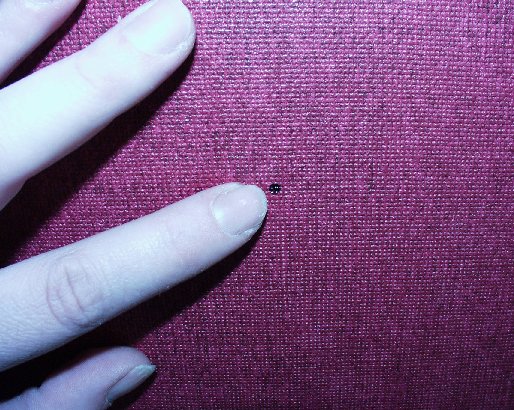
Yes, the color in this picture is *much* off!
Then I have sketched the rough outer shape for trees, figures etc. to that grid from my template…
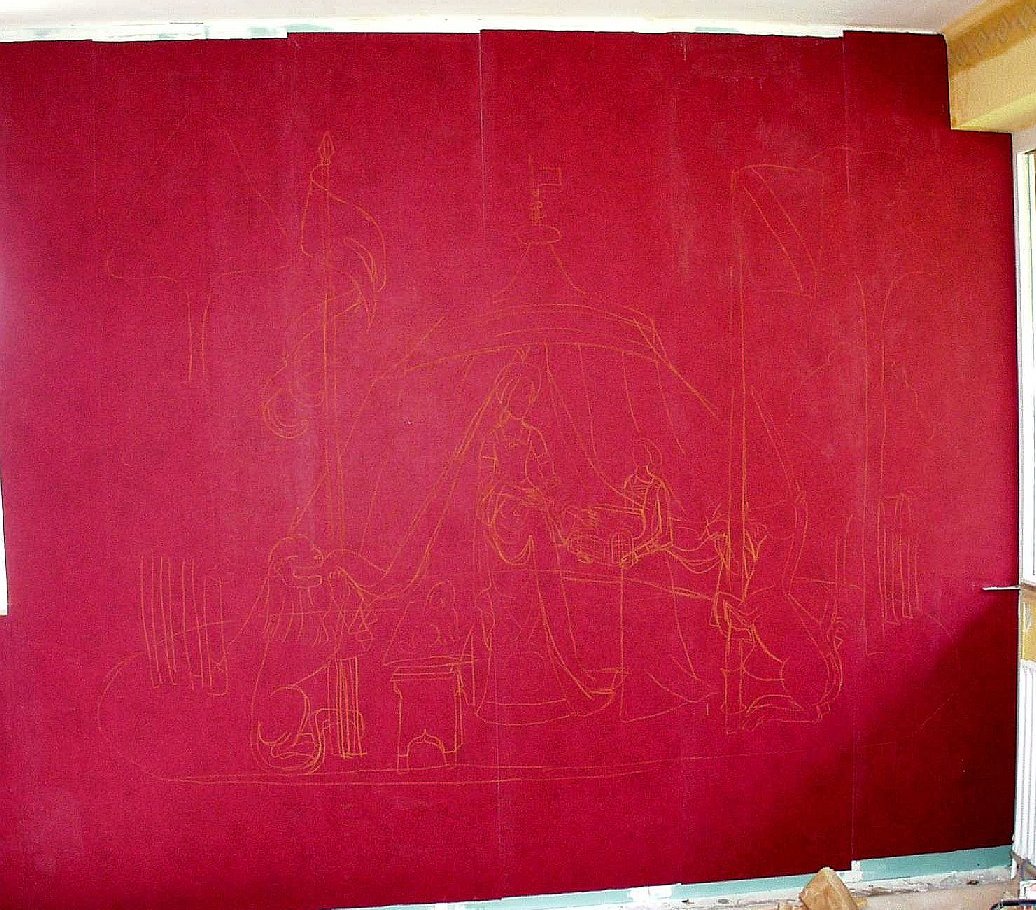
…rather large, but in any smaller version the drawing wouldn’t have been visible any more.
…and then I started painting… color… by color… by color…
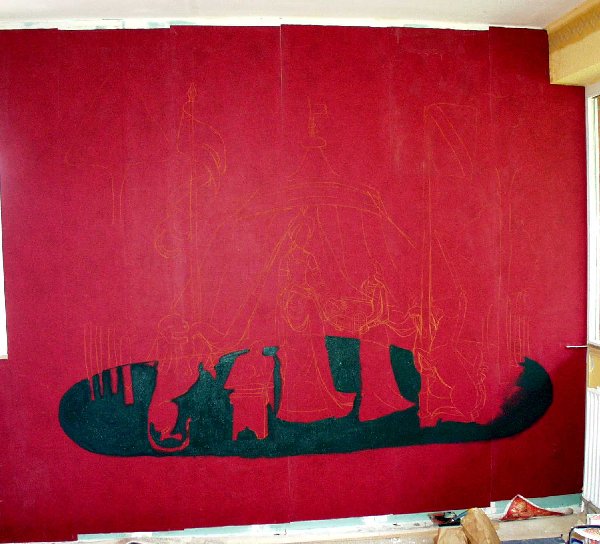
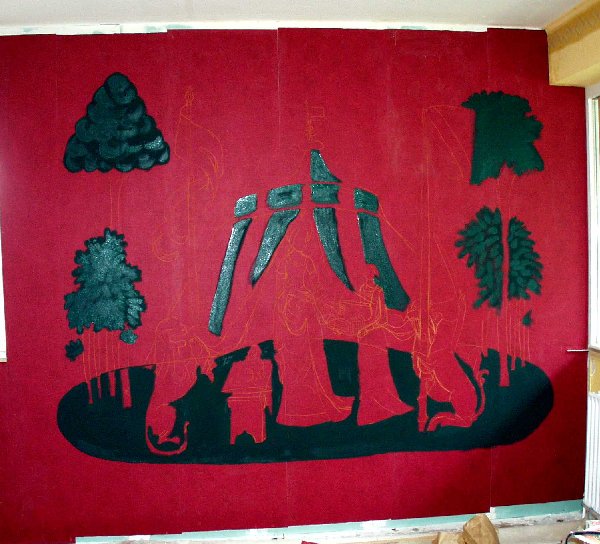
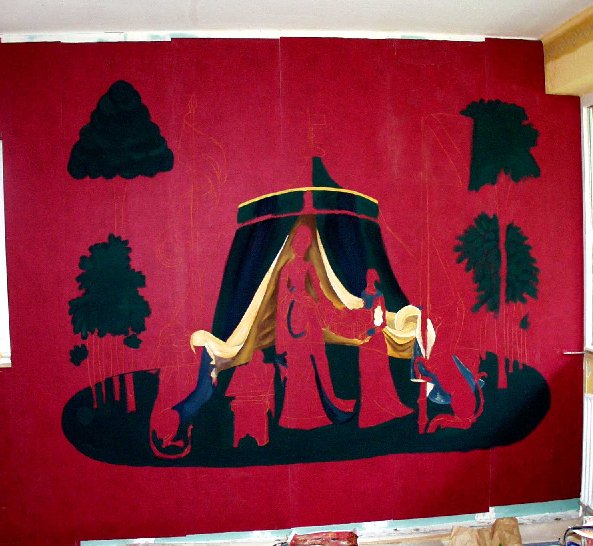

As you can see, I always started by painting the ‚lawn‘ on which all figures stand, plus the darkest shade of green for the trees. For the case of the here shown ‚Desire‘ tapestry, I then continued by painting the tent in the background, then painted the stems of the trees, the leaves etc. – but why am I writing this – here’s an animation on that process. If you click on this small animation, you’ll be taken to a page with a larger, but slow loading version of the same animation:
Note that no, there’s no earthquake going on, but yes, I’ve tried to photograph the painting from the same angle each time, but as this was practically impossible, the wall seems to move in the picture – which it, of course, doesn’t do in reality.
Also, the wallpaper as well as the painting itself seems to change color during the animation – that’s because I had to photograph the painting at different times of the day, and so the light conditions were different each time I photographed it.
By the way, if you should wonder: Yes, each picture – save the first three – shows one day’s work. And if you think I worked slow, then I expect you to paint the same picture at the same size *and* prove that you could do it faster. Keep in mind that you will often have to wait some time until a color has dried until you can paint the next.