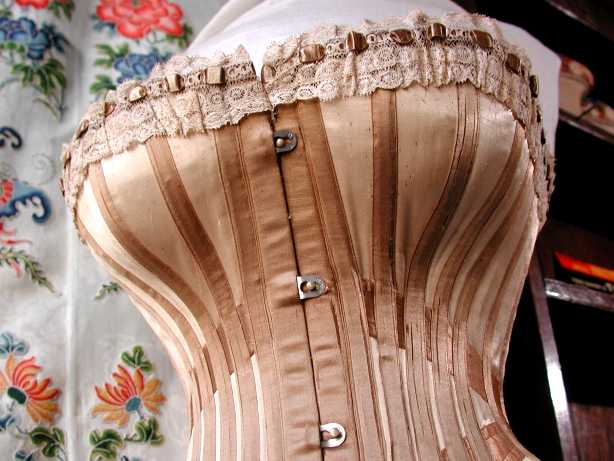
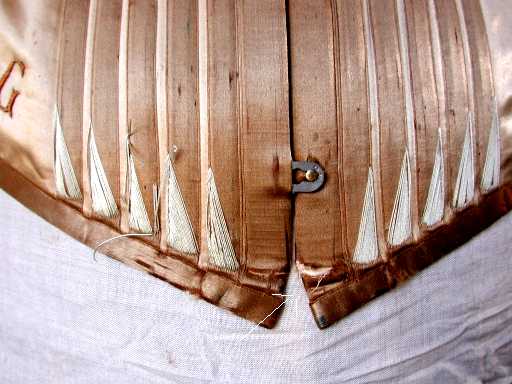
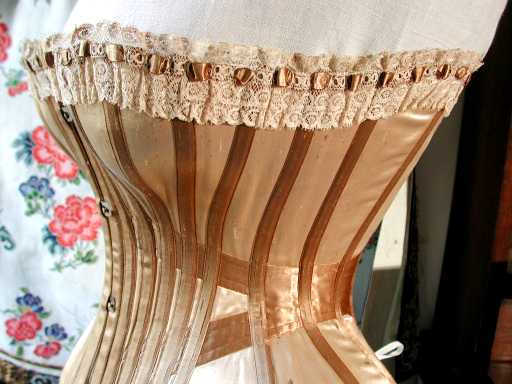
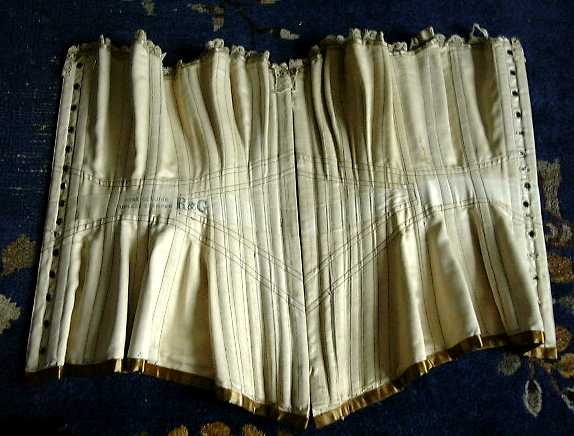
When making the corset, I was mainly influenced by this beautiful original corset which was offered in an Ebay auction:
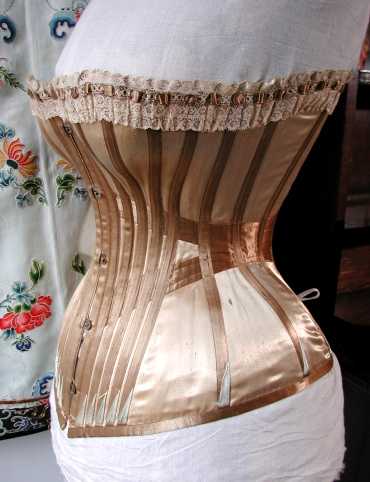
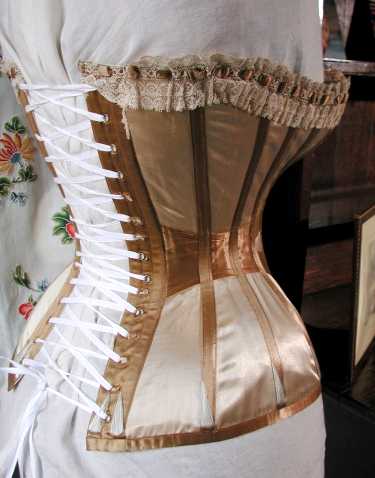

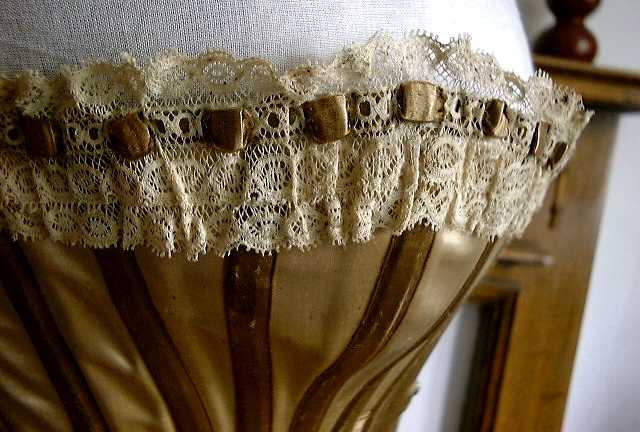
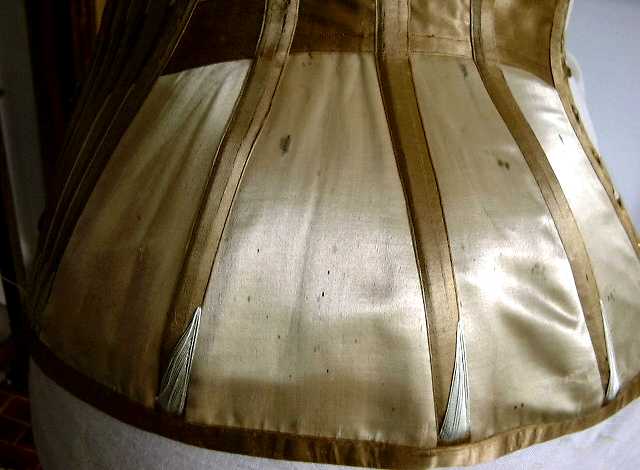
I didn’t buy this corset, because I have to admit that I didn’t find that particular Ebay auction – those pictures were sent to me by a friend, and I am almost sure that he sent them to me in order to make me actually want and make that particular corset.
I think his exact (translated from German) words were: „I don’t think anyone in the world could make such a corset today.“
Alright, my friend – you’ve reached your goal, I’ll reproduce it – of course not just because you said that no one could, but also because I like it a lot…
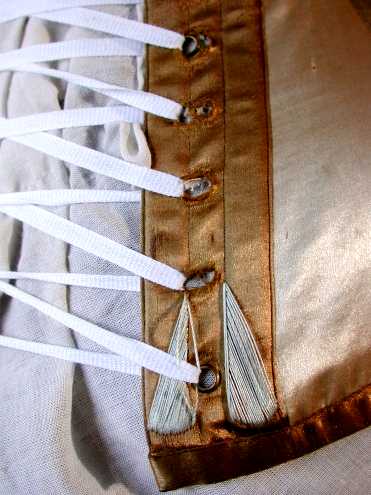
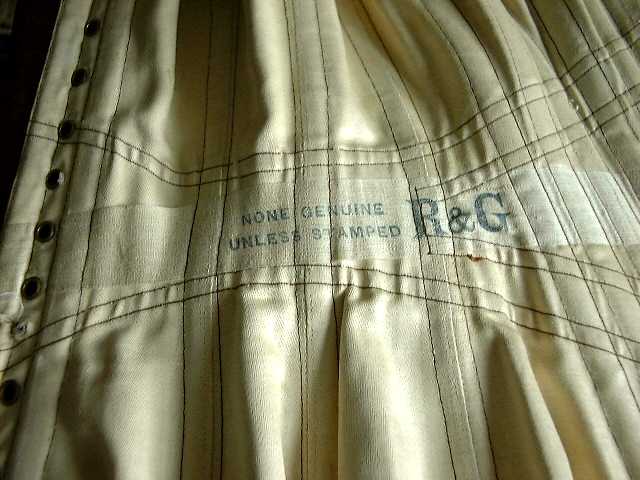
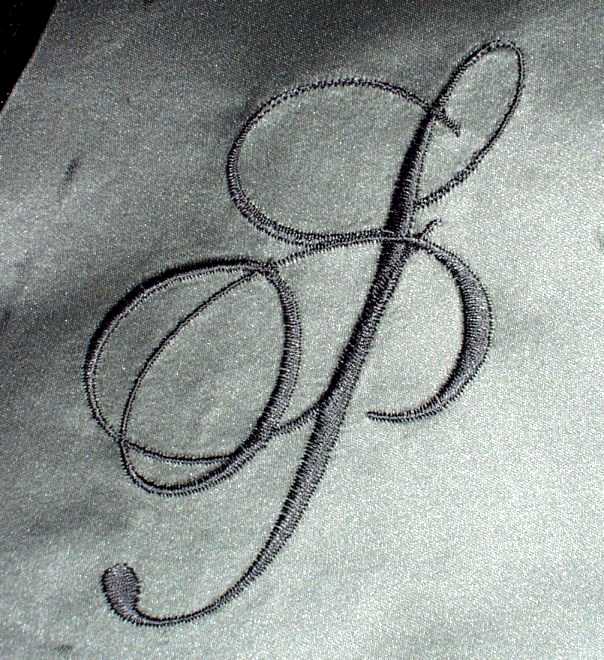
After making a pattern for this corset, I started by embroidering some initials – as are to be seen on the original corset on the right side in the forth picture. Just, of course, that I didn’t embroider „R&G“ to it, but my very own initials.
I did the embroidery on the fabric I had chosen for this corset – duchesse silk in two colors: charcoal and light gray. Before doing *anything* with that fabric, I watered it (meaning I left it with some water, often changing this from cold to hot, in the bathtub for two days) to preshrink the fabric.
Nothing is as bad as a well fitting corset that will shrink considerably after the first cleaning – and this silk duchesse *does* shrink, believe me.
Here’s a picture of the embroidery I made:
After the embroidery was finished, I started cutting the pieces from the pattern I had made for the corset; first in duchesse silk…
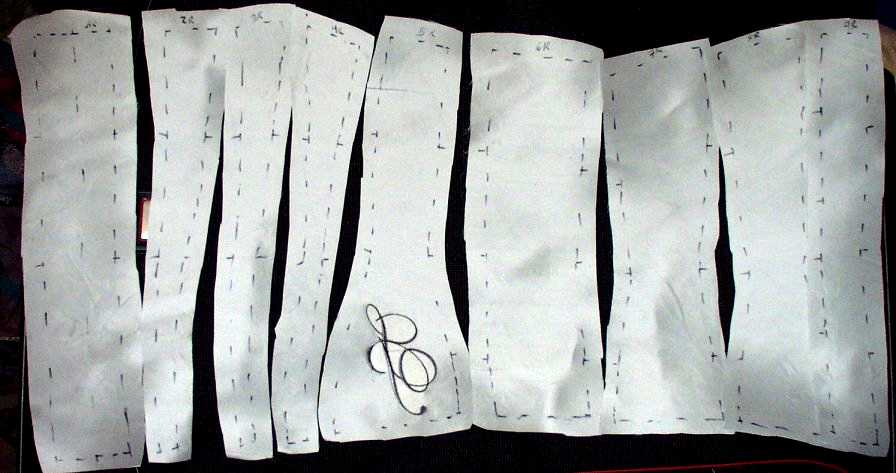
(Picture shows half of the corset’s pattern pieces, laid out in the order in which they will be sewn together)
…and then I’ve sewn those pieces together.
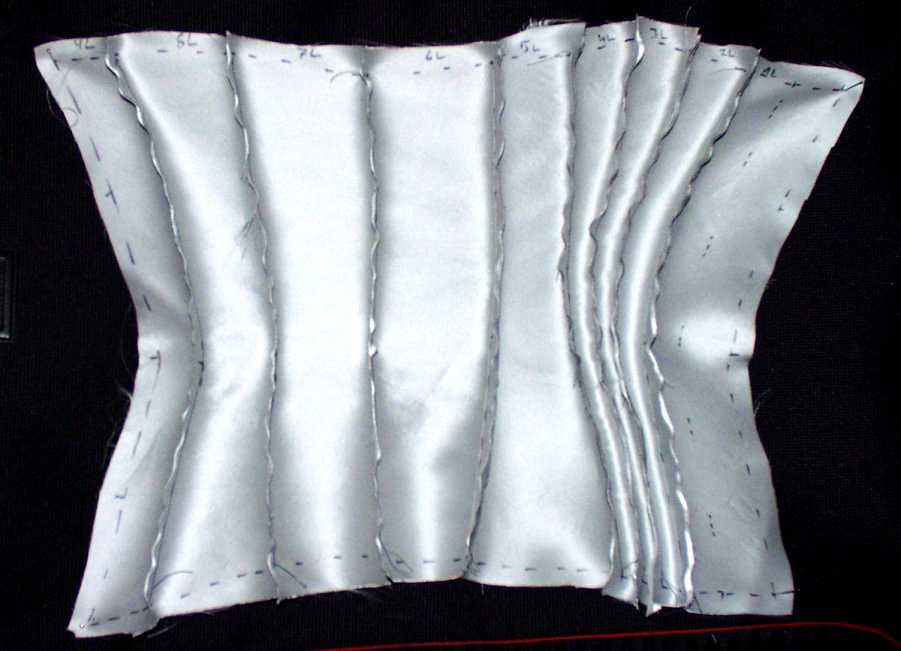
(Picture shows – again – one half of the corset, sewn together. It’s a bit stretched in this picture, so the actual bust / waist / hips difference is not yet visible)
Afterwards, I’ve cut the corset pattern pieces once again – this time from a double layer of herringbone linen, which I afterwards also sew together.