| Navigation for this part of the page: |
|
[catlist categorypage=yes] |
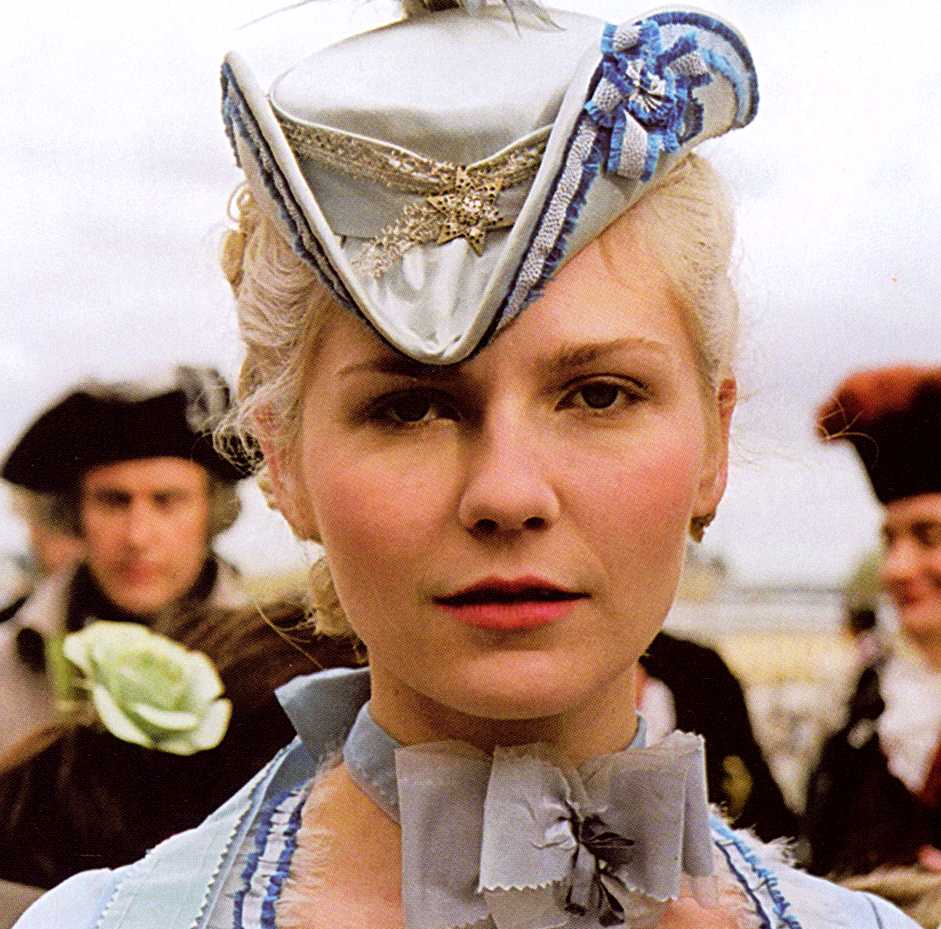
How to make a tricorn hat
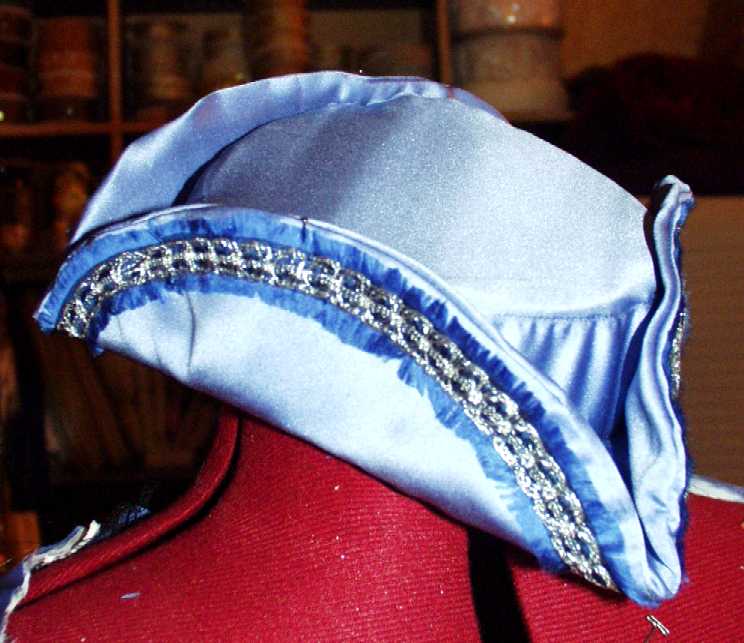
(like the one Marie Antoinette wore in the movie with the blue dress; but of course this basically also works for any other kind of tricorn hat – like the one Jack Sparrow wears in Pirates of the Carribean, for example!)
First, you need some materials. Those are:
- The ‚base fabric‘ of the hat.
I’ve used some water-softening stiff felt (and have, of course, NO idea what other terms to use to describe it!). That’s a fabric that looks like felt and is extremely stiff. However, when wet, it becomes soft – just to stiffen again as soon as it’s dry. You get the point, I guess. I bought that fabric at a DIY shop, maybe you could ask in one about what I described here. - The ‚cover‘ fabric.
If you want the tricorn hat to match a gown of yours, it’s a very good idea to use the dress fabric to cover the hat, too. - A measurement tape, and maybe a calculator.
- Some paper on which you can sketch the pattern.
- Some shapes to mold the hat to. Those can be household articles; I’ll describe it further down in this tutorial.
- A sewing machine; but you could also sew by hand.
- A good amount of pins
- Some old trims
- Some trims or whatever you want to use to decorate the hat, if you desire to do so
- A pattern. This is what this tutorial will start with:
The pattern is really simple. Basically, you look at the mirror and figure how wide you want the center of the hat (that’s the pillbox like thing in the middle) to be on your head. Take a measurement tape to get the exact measurement of width. That pillbox thing will be round, so if you have the measurement of how wide you want the center piece to be, you’ll just have to draw a circle with precisely that diameter. We’ll call this the ‚center circle‘ from now on.
Next you’ll want to figure out how high you want the center to be. I used 5 centimeters (about 2 inches) for my hat; but that’s entirely up to you, of course.
Then you’ll have to calculate the length of a strip running around the entire ‚center circle‘. You can either do that with maths – by calculating the circumference of the center circle from the diameter you used.
The formula for calculating the circumference is pi (ca. 3.14)x diameter. Or you can use a measurement tape and just measure around the ‚center circle‘.
Now you have two measurements – the height (in my case, 5 centimeters) and the length (what you calculated or measured). Both together (height x length) will be used for one strip of fabric, which we’ll call the ‚wall‘ of the hat from now on.
After that, you’ll have to figure out how wide the brim (that’s basically the thing that forms the ‚tricorn shape‘ to be). As a rule of thumb, it should be ‚height of the wall‘ plus ‚one finger’s width‘. So if your ‚wall‘ (like mine) is 5cm / 2 inches high, and your pinky is about 1cm / 1/2 inch wide, then your brim should be about 6cm / 2 1/2 inch wide.
With the measurements you’ve just calculated / measured for the center circle, you’ll start to draw a pattern.
Draw the center circle first.
Then add the wideness of the brim to the radius of the center circle, and draw another circle around it.
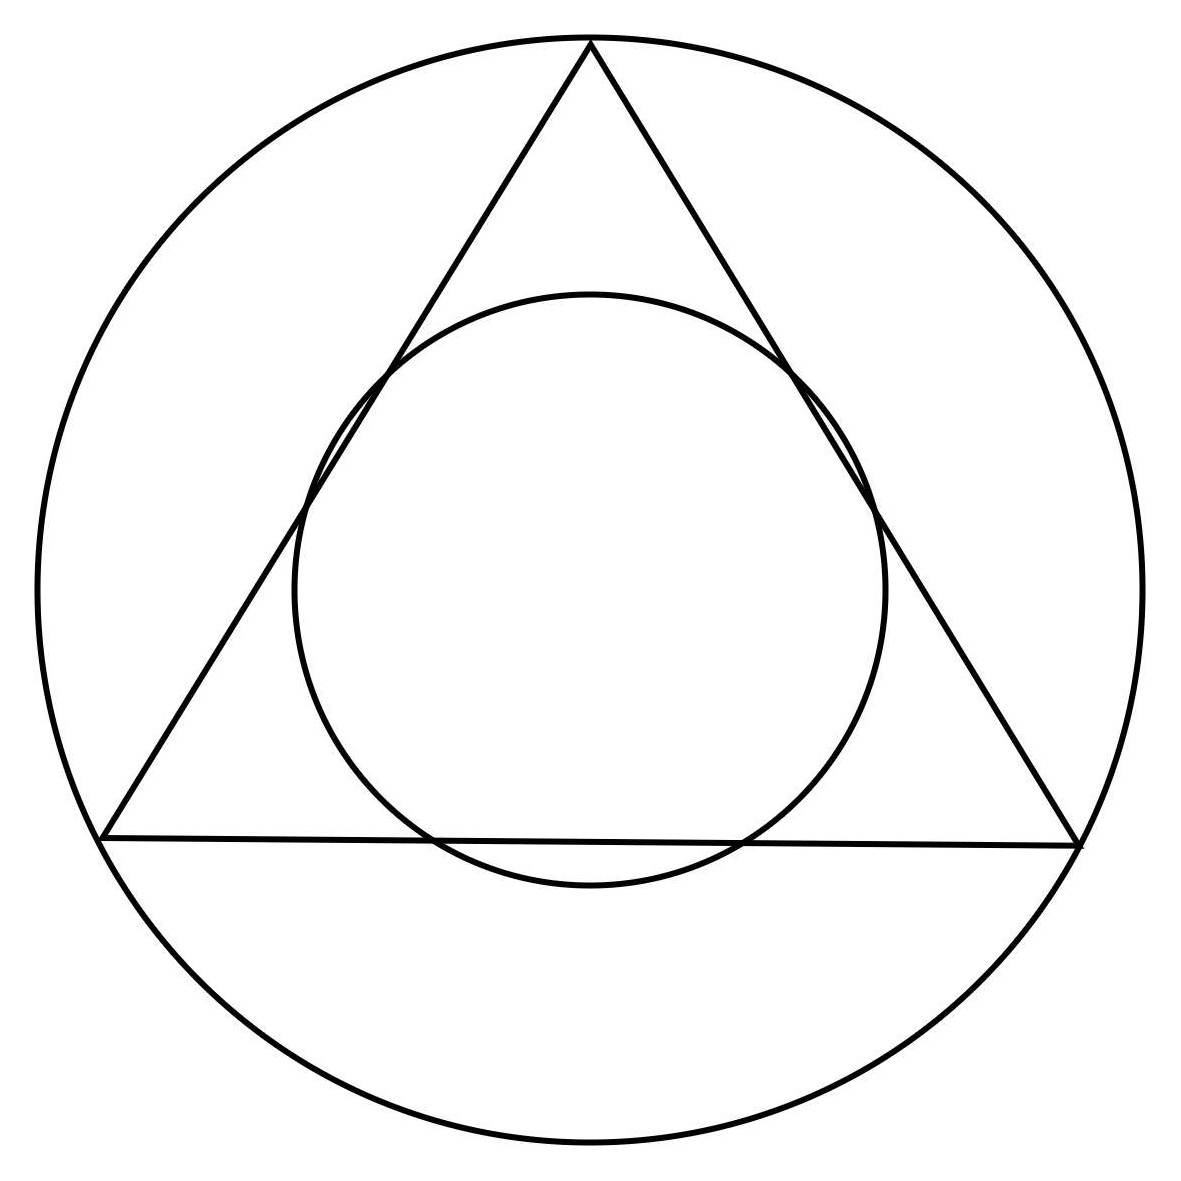
It should basically look like this (and by the way, you can CLICK all images in this tutorial to enlarge them!):

The inner circle is your ‚center circle‘, the outer circle is your ‚brim‘.
After that, you’re adding a triangle to the pattern. It should look vaguely like this, with the bottom line going slightly through the inner circle.
Now you’ll add some kind of ‚wavy lines‘ to each point of the triangle, coming from the outer circle. Should look like this…:

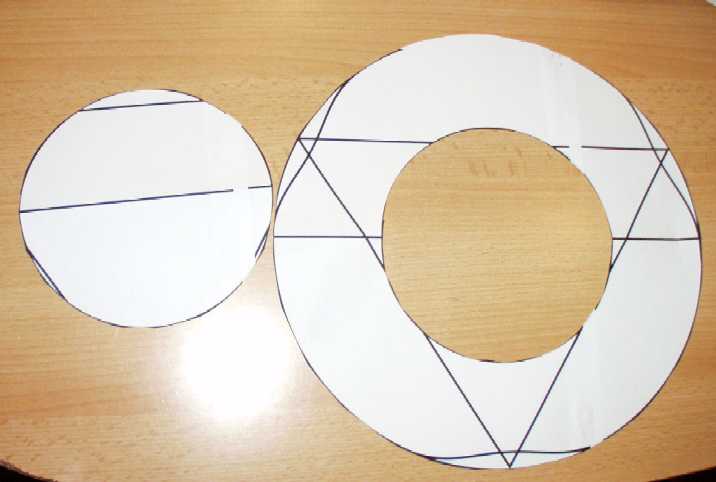
Now you can cut your pattern apart. You’ll want to cut the inner circle and the outer circle. Looks like this when cut:
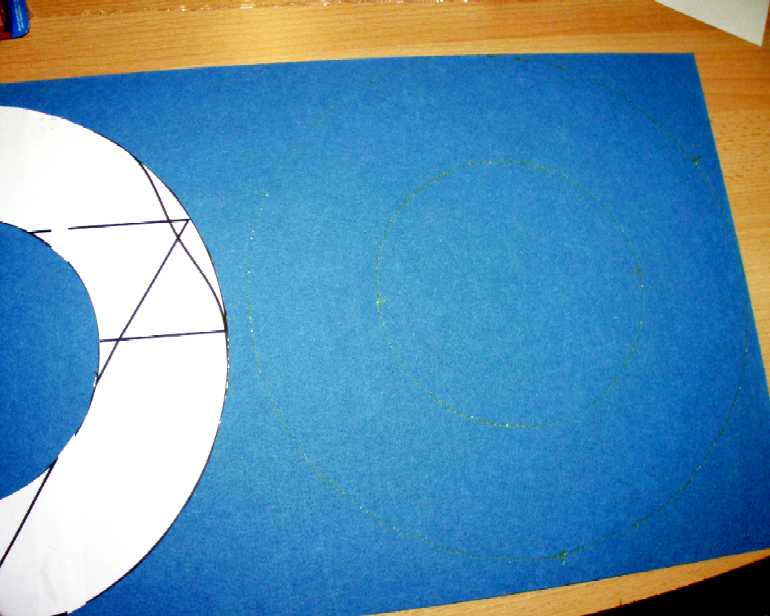
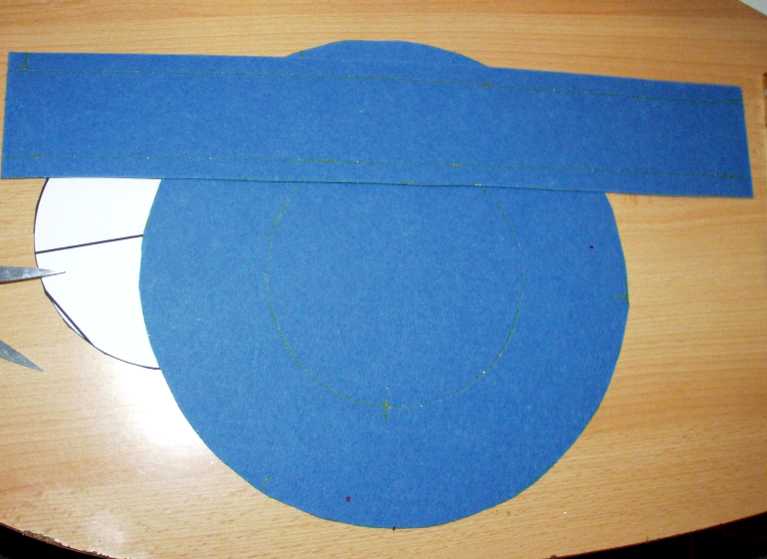
You’ll then have to trace the pattern pieces to the felt. That will look like this:
When cutting the circles out, DON’T FORGET TO ADD A SEAM ALLOWANCE of about 1cm / 1/2 inch! The seam allowance is NOT INCLUDED IN YOUR PATTERN PIECES. However, this – at least for the ‚felt‘ part! – applies ONLY to the ‚wall‘ strip and the INSIDE of the ‚brim‘, which you should cut out later. As in: Not now 😉
Cut a strip of felt from the measurements that you’ve calculated / measured for the ‚wall‘. Don’t forget the seam allowance on that either!
Then clip little triangles from the seam allowance of said ‚wall strip‘ along the longer (=length) sides. Should look like this:
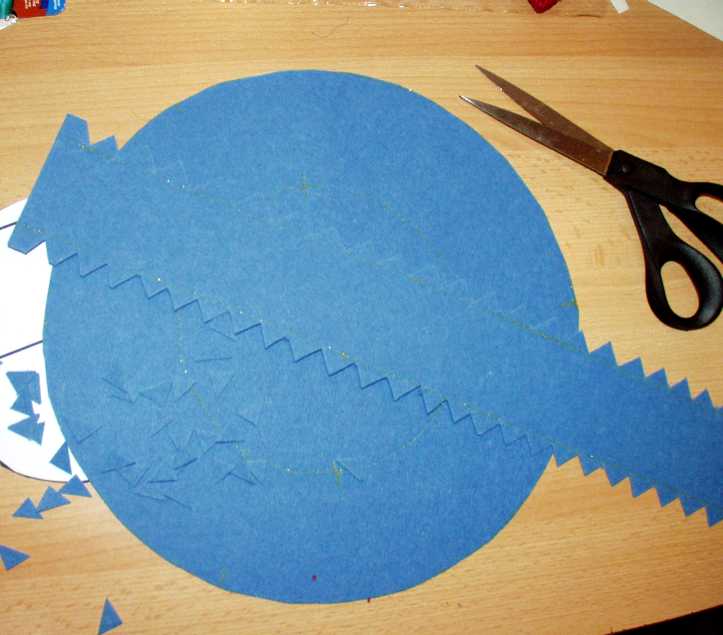
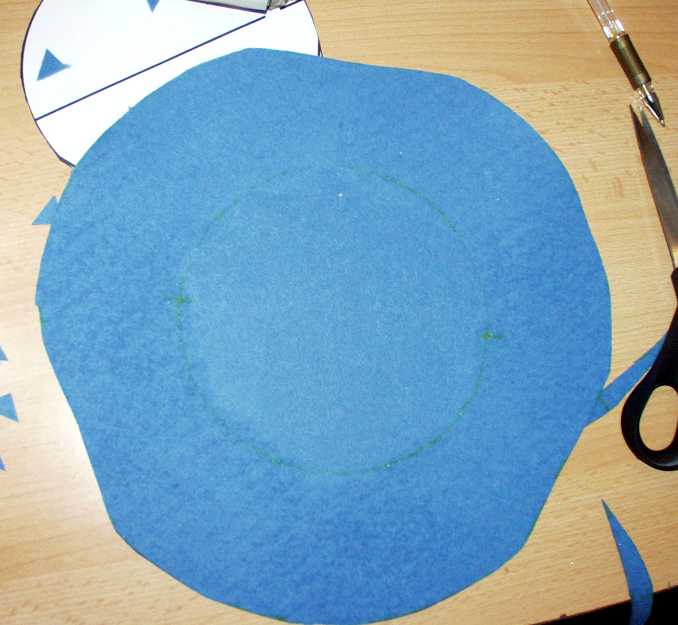
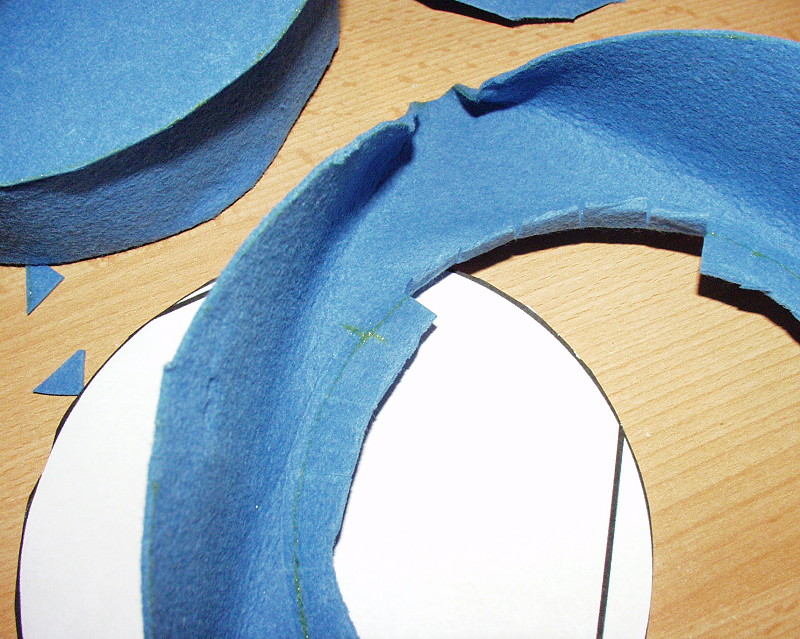
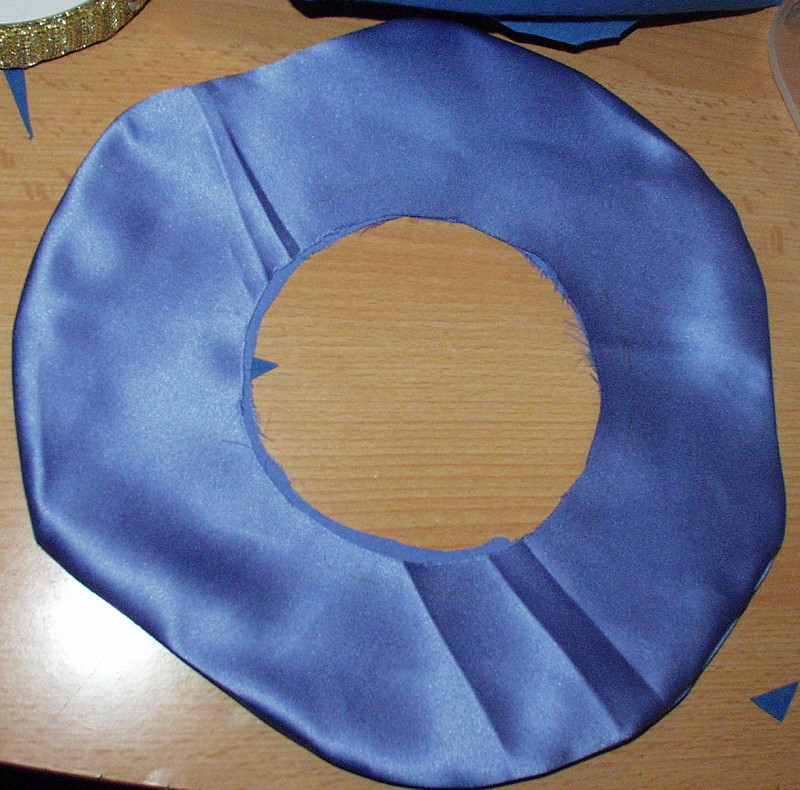
Cut the ‚wavy lines‘ from the brim part.
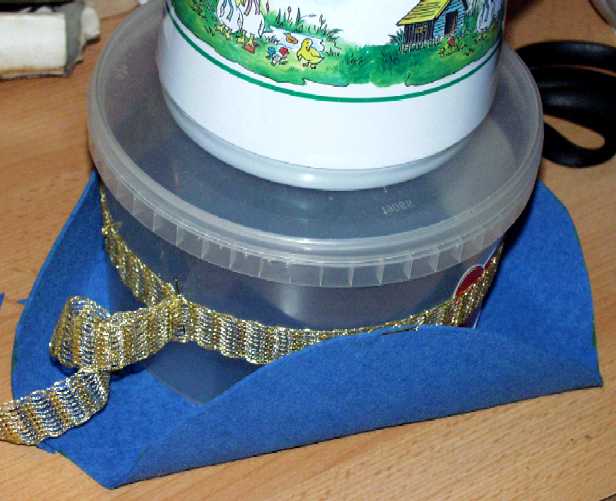
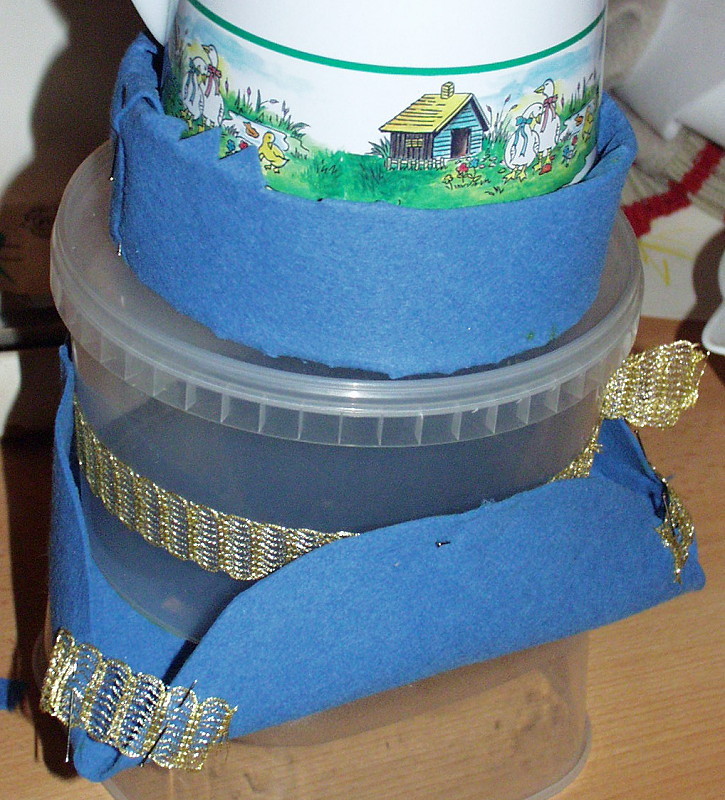
Now, wet your felt so it becomes bendable. Then find something in your household that vaguely has the size of the ‚inner circle‘ – in my case, it was an old round plastic box – and place it at the very center of the brim piece. Tie an old ribbon or trim around the thing you’re using.
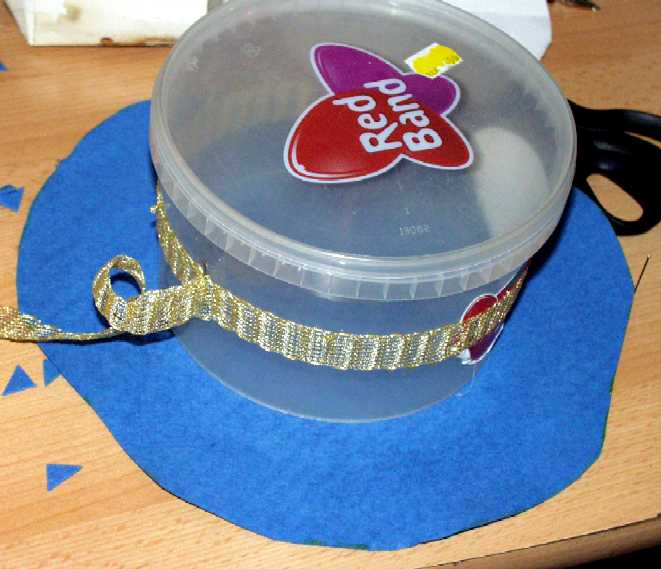
Maybe you’ll want to add some weight to the top of the box, I used a Thermos bottle.
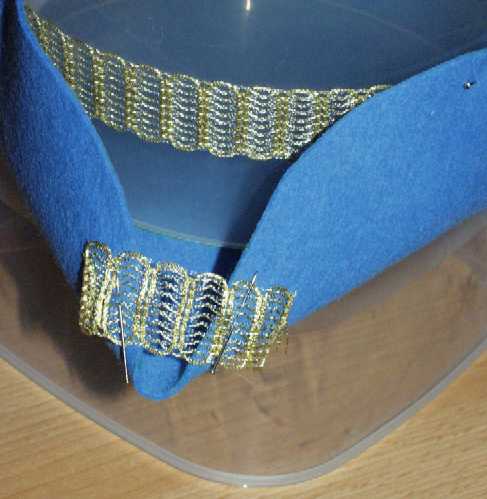
Bend the edges of the brim up and pin them to the ribbon. You’ll basically pin the center of each line of the triangle of the pattern to the ribbon, not the points. This is done so the (still-bendable-when-wet) brim will stay up by itself as soon as it’s dry.
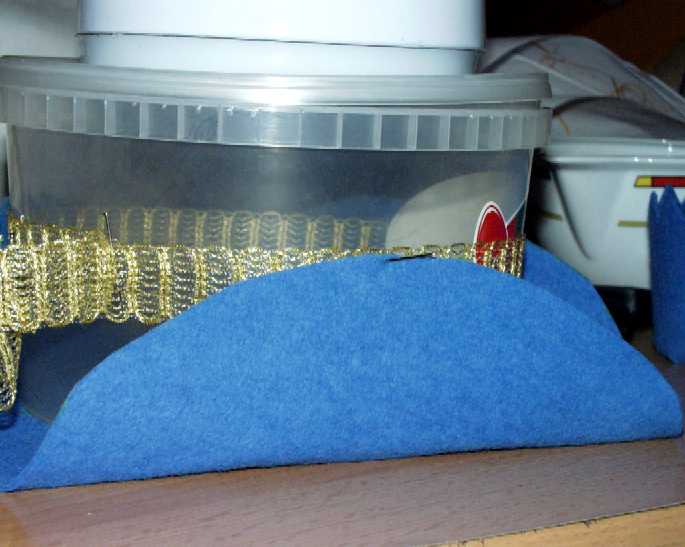
Also, pin the points that will be visible to little pieces of trim so they’ll look nice. You can’t see it in these pictures (because the edges are pinned already!), but they do tend to ‚gap‘ more without the pinning as long as the felt is still wet.
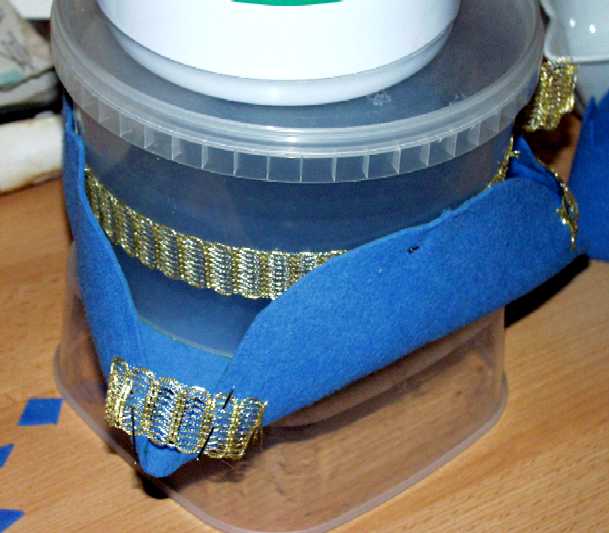
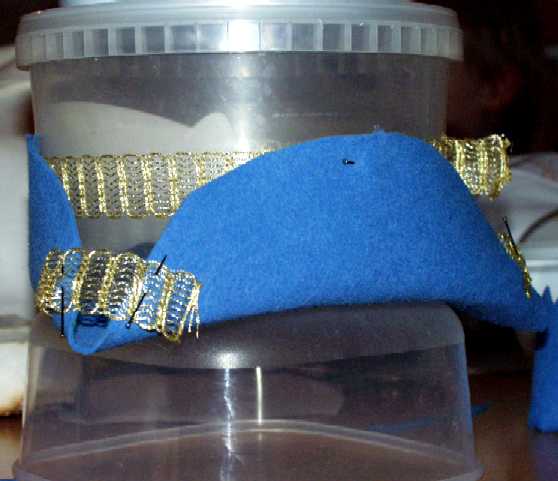
Since the Thermos bottle almost has the size of the inner circle as well, I’ve used that to pin the wet strip of the ‚wall‘ around it so it could dry together with the brim part. Note how I have bent the little clipped triangles to the inside, so they will dry this way.
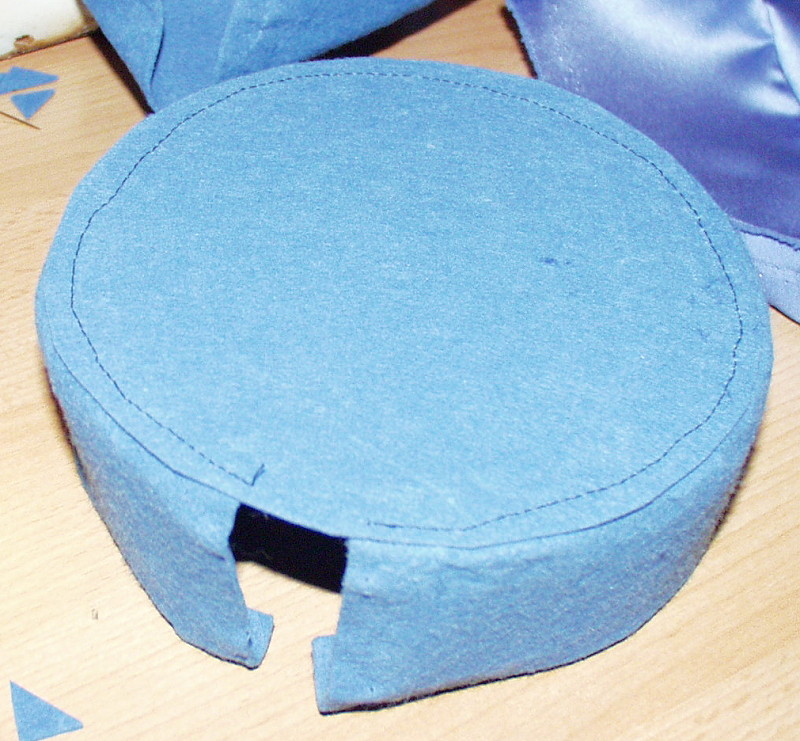
Here’s the result after drying:
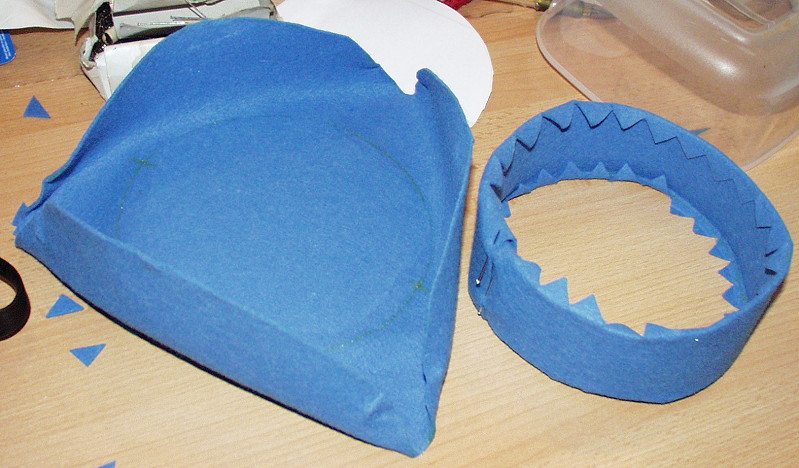
Now cut the inside of the brim. Don’t forget the seam allowance!
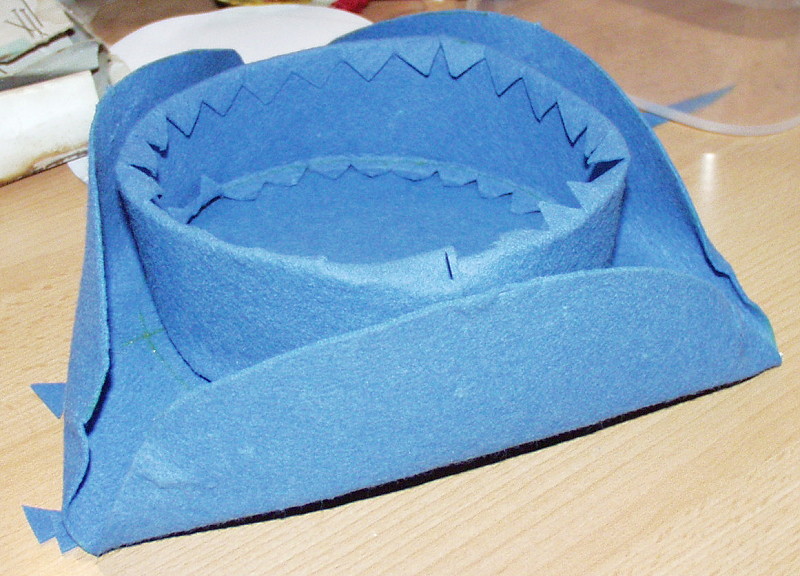
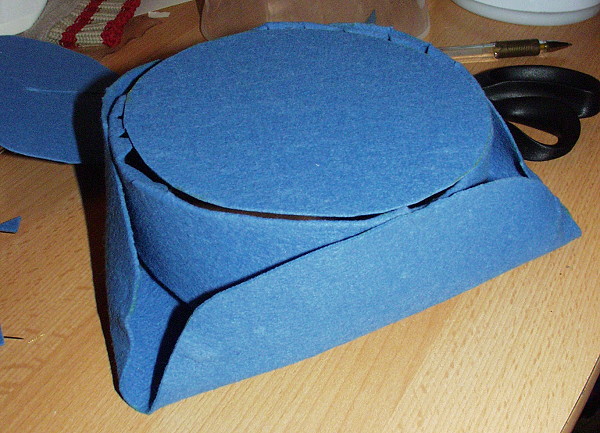
A short test assembly of the three pieces: Center circle, wall, and brim:
Cut the center circle, the ‚wall‘ strip and the brim (brim: twice!) from the fabric that you want to use to cover the tricorn.
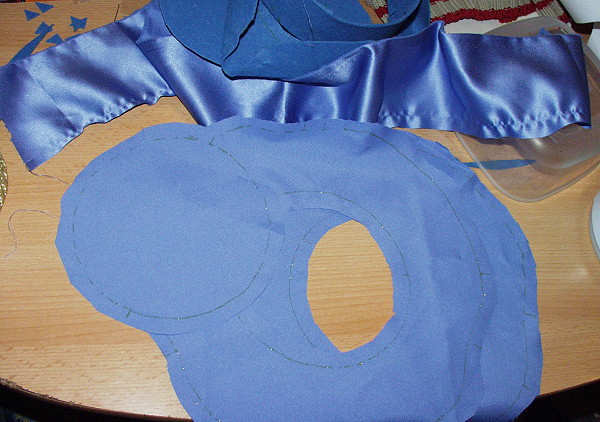
Right side on right side, sew the two ‚brim‘ pieces together along the OUTER edge (you didn’t forget to add the seam allowance for the FABRIC pieces, right?):
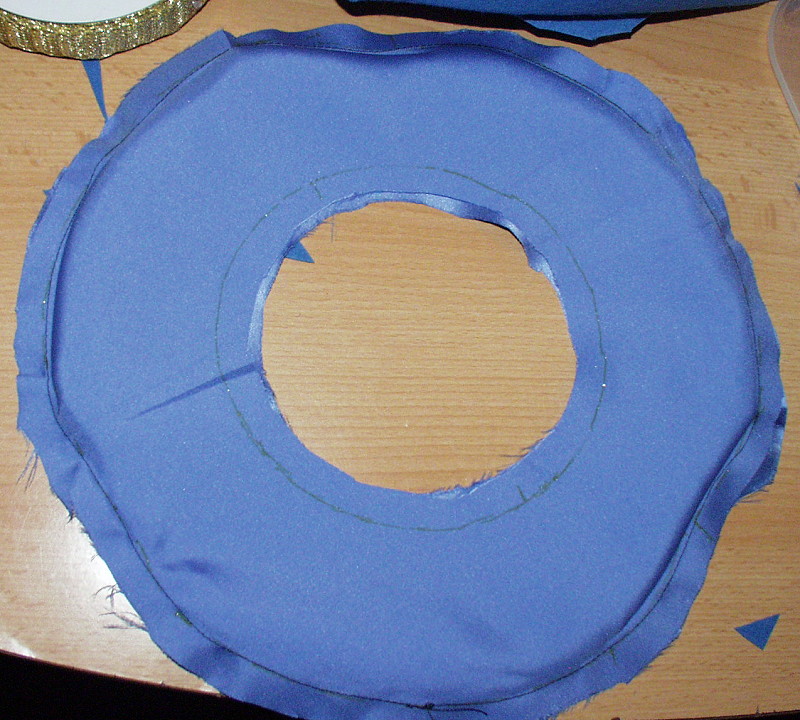
Turn.
If you want to decorate the brim, do it NOW; but be careful to NOT sew through both layers. Then, push the felt brim between the layers of fabric.

Sew the felt wall strip to the center circle at the top edge of the circle (see picture!). Do the same with the corresponding cover fabric pieces (not pictured here!), just that you sew those together on the exact edge, and NOT on top of the center circle.
And yes… my felt strip was a tad short so I had to add a little piece to fill that gap. Moral of the story? Always cut out LONGER than you need it, because it CAN happen that the felt SHRINKS a tiny bit while being wet!
After that, pull the fabric center circle / wall over the felt pieces.
Pin the fabrics and felt together, check if they look right.
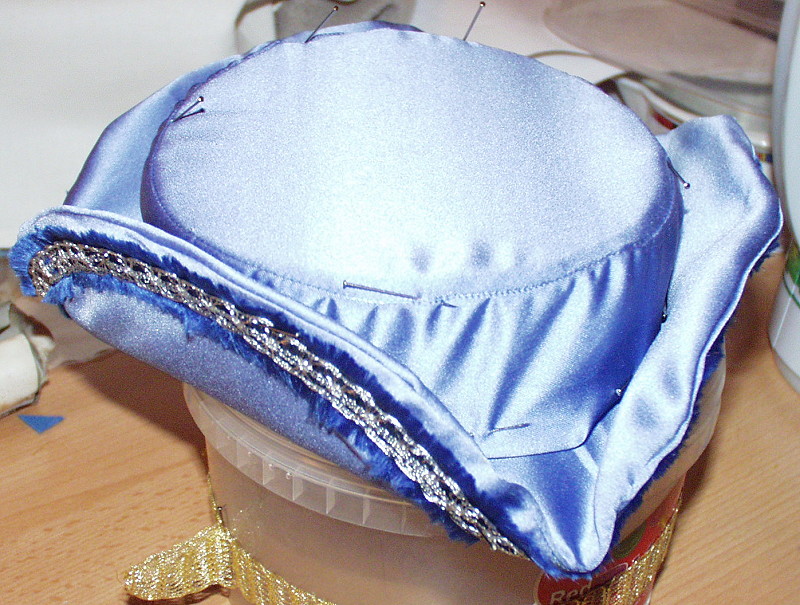
Then sew together along the wall / brim edge from the left side (=inside of the hat). You can use the sewing machine or do this by hand.
After that, you’ll want to pin the upper edges of the brim to the wall and maybe secure them there with a few stitches (because believe me, the least thing you want is that your brim edges will bent down as soon as your hat gets wet!).
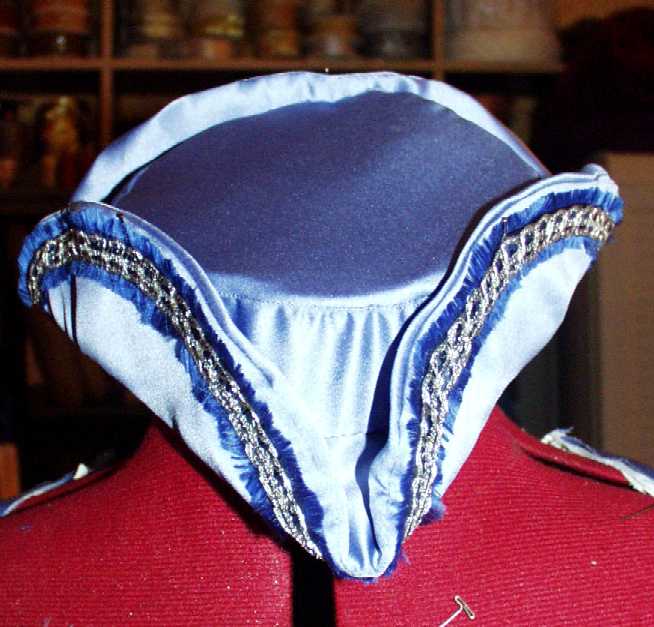
Also, maybe add a ribbon or trim along the inside of the hat, where the seam of wall / brim is running.
You can do some more decoration, or just wear the hat now, because you’re basically finished 😀

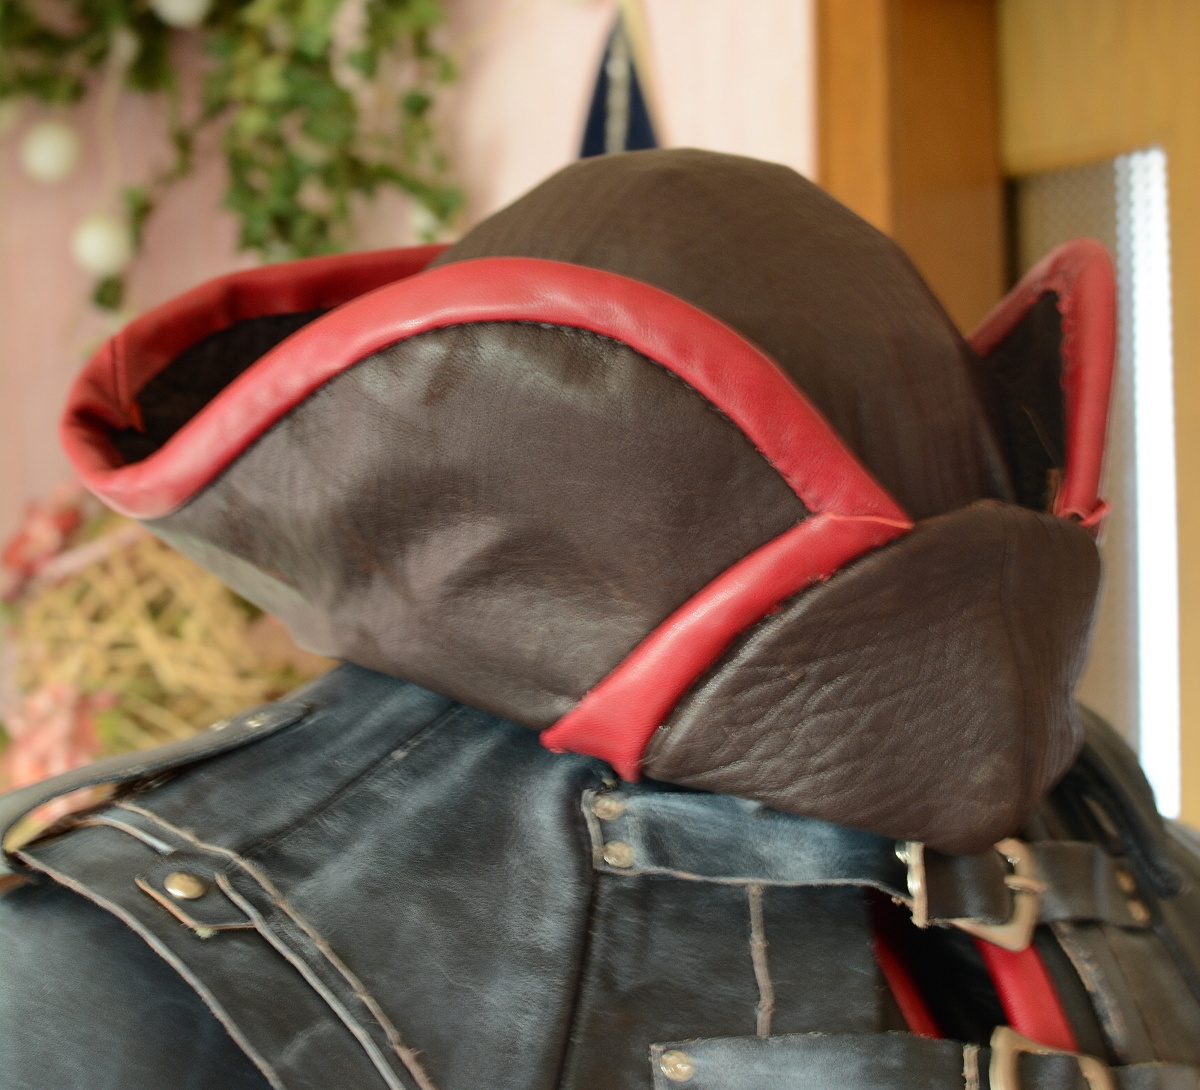
Here’s a slightly different version of the hat, which I created to go with my Aveline de Grandpré costume; it is made from real leather:
Hope you liked the tutorial! If you’ve used it to create any tricorn hats, I would LOVE to see them, so send me some pics (and tell me if I’m allowed to publish them on this website).
| Navigation for this part of the page: |
|
[catlist categorypage=yes] |
May I ask what the diameter of your „pillbox“ was? It looks exactly like what I’m looking for!